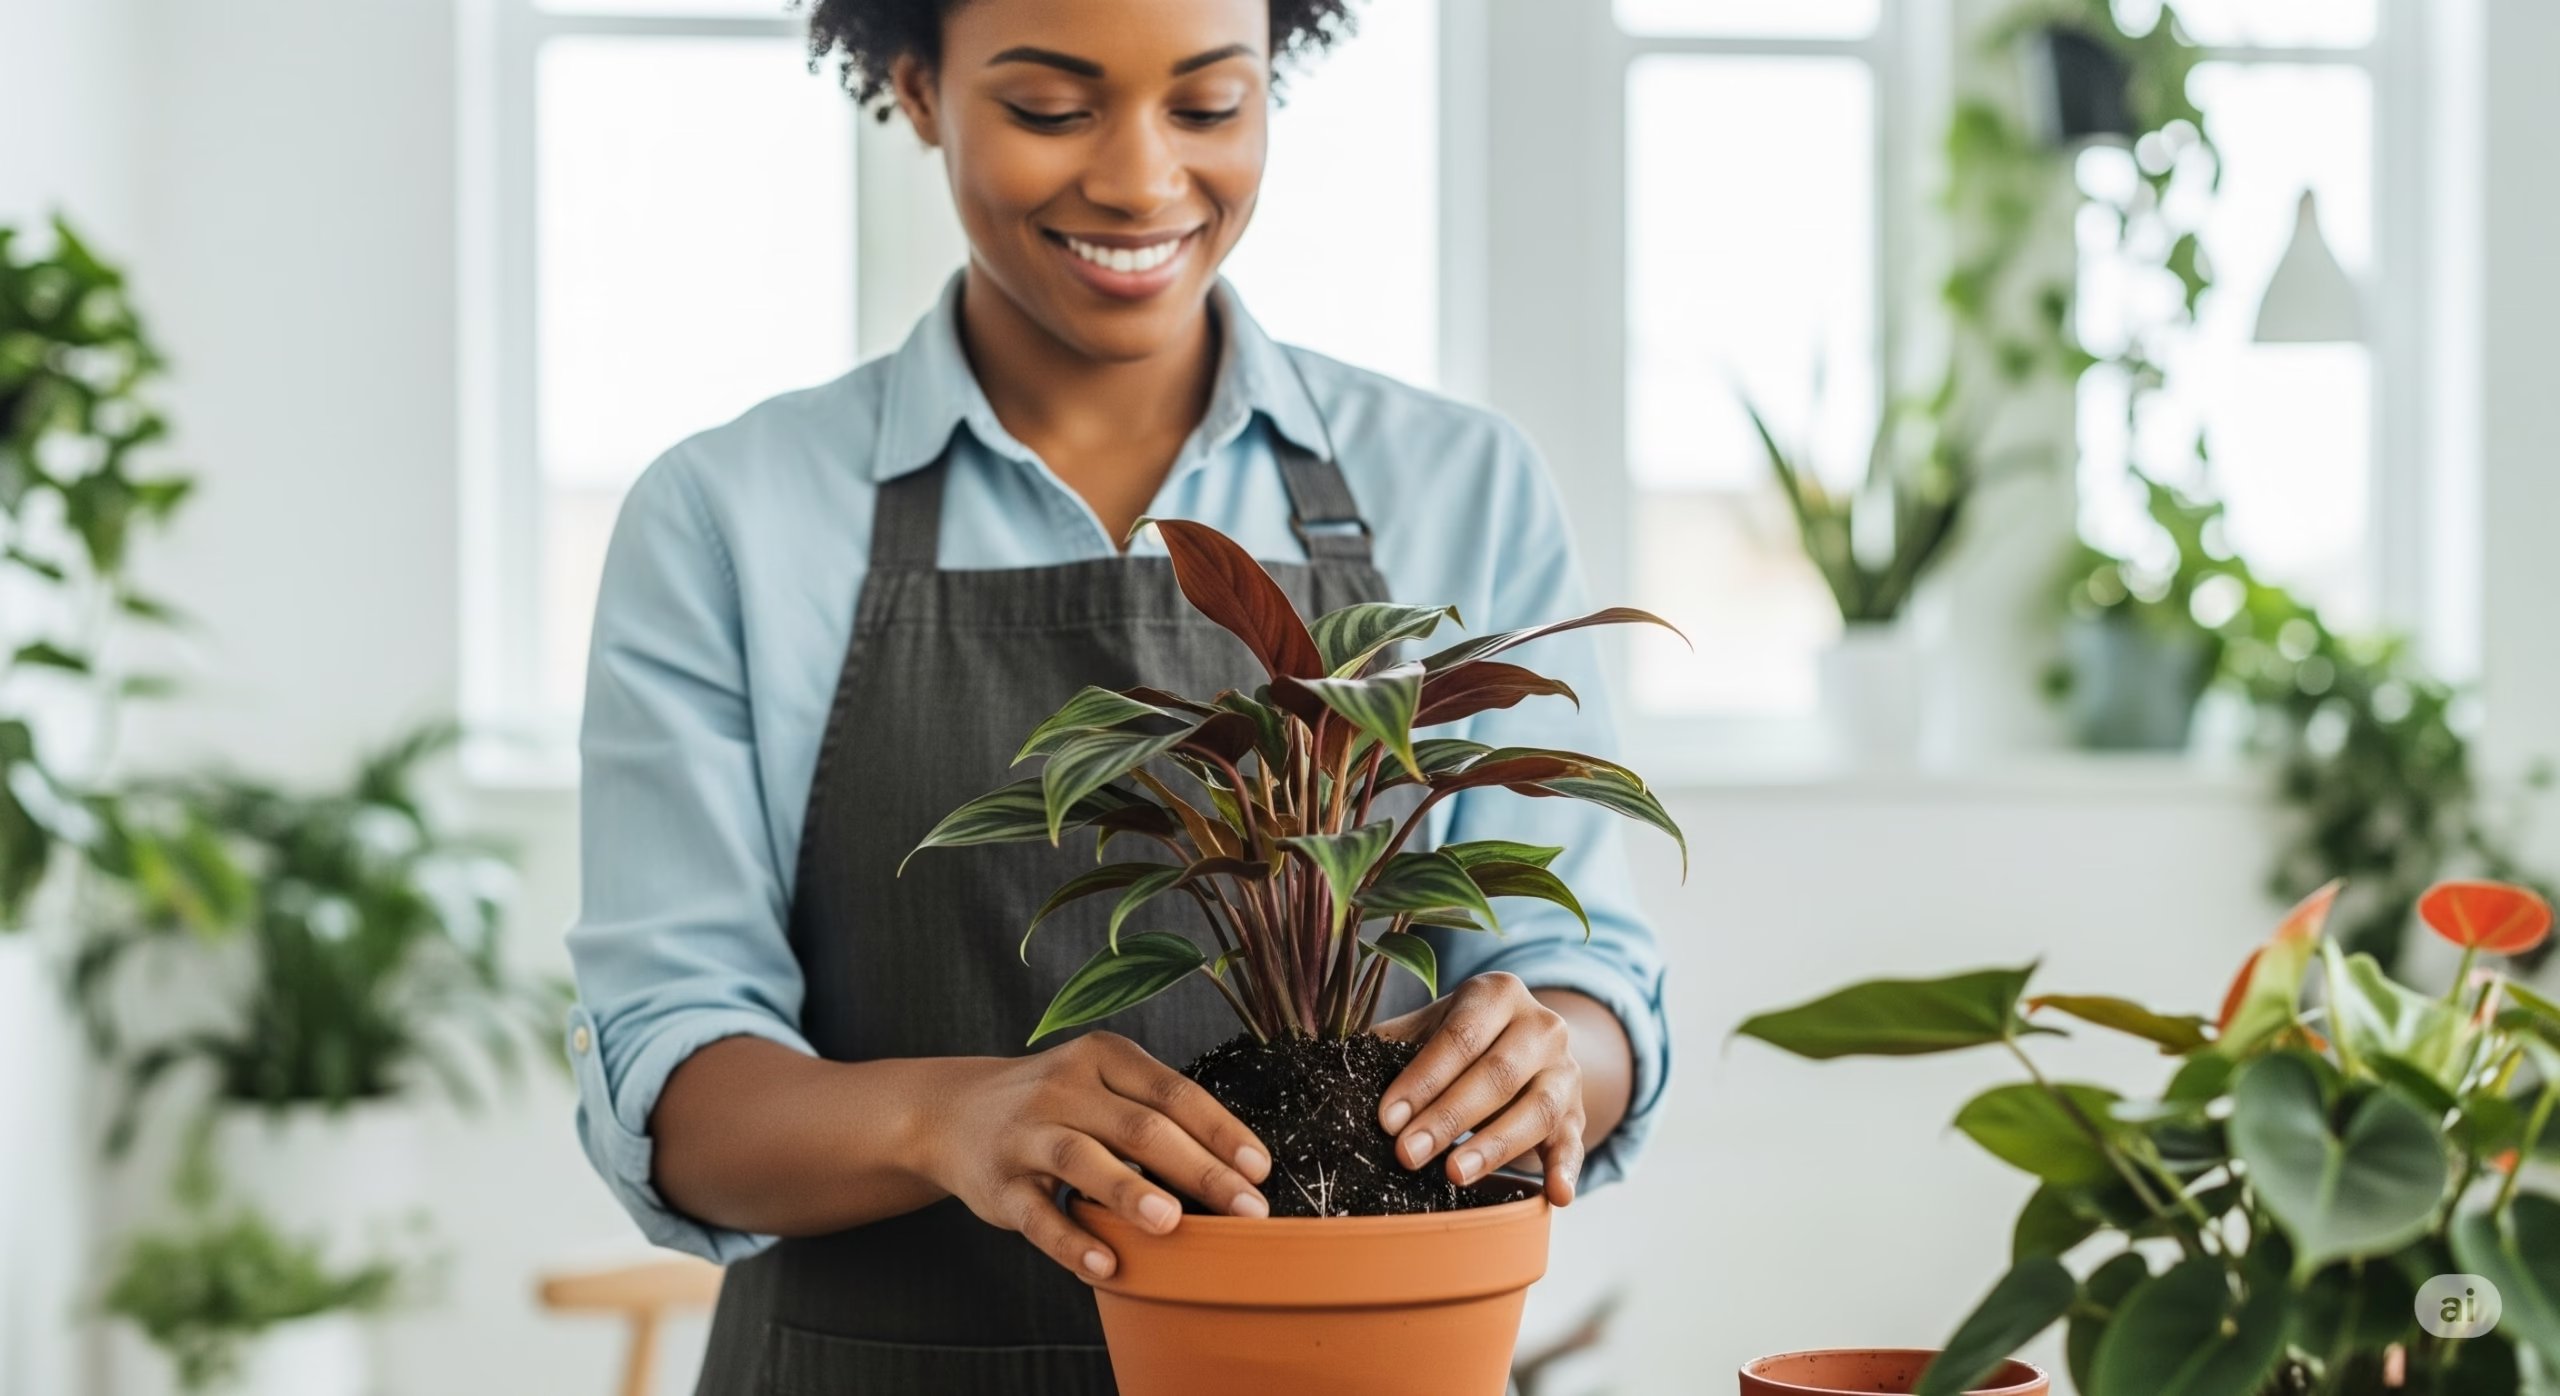
How to Repot Indoor Plants Like a Pro
I’m Adrian Higgins, the garden columnist at The Washington Post. Today, we’re going to show viewers how to simply repot a houseplant. You need to repot indoor plants because, in nature, they grow on the jungle floor. But when you grow anything in a pot, in a container, it’s in an artificially constrained environment. Those roots eventually are going to get strangled upon themselves. Spring is the time to do this. Repotting ensures your plants stay healthy and vibrant.
How to Start Repotting
Pot up maybe one inch or two inches. This is a 6-inch pot, and today I’m going to put it into an 8-inch pot. The key thing is it does have to drain. Proper drainage prevents water from pooling, which can harm roots. Ensuring your pot has drainage holes is critical when you repot indoor plants.
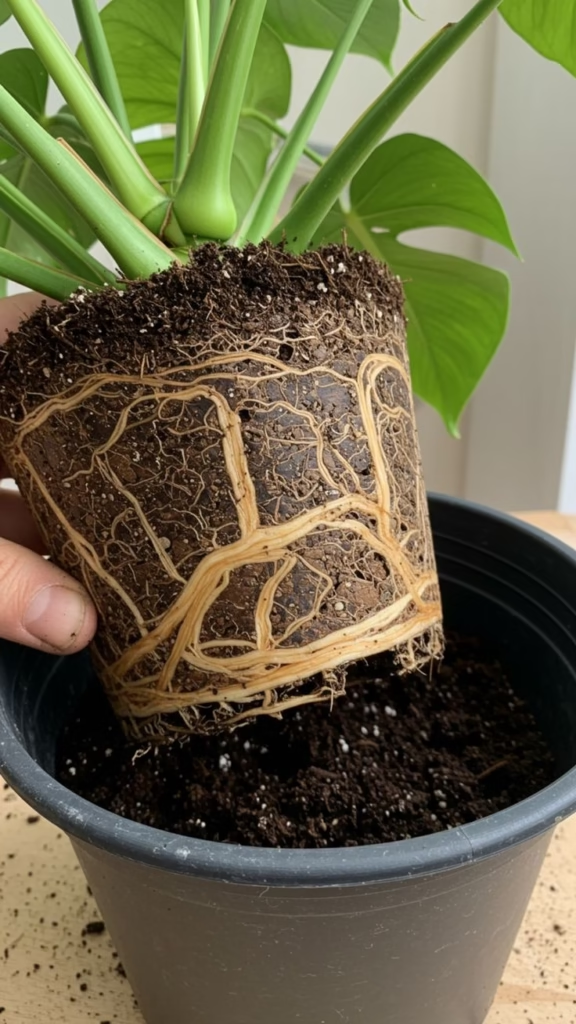
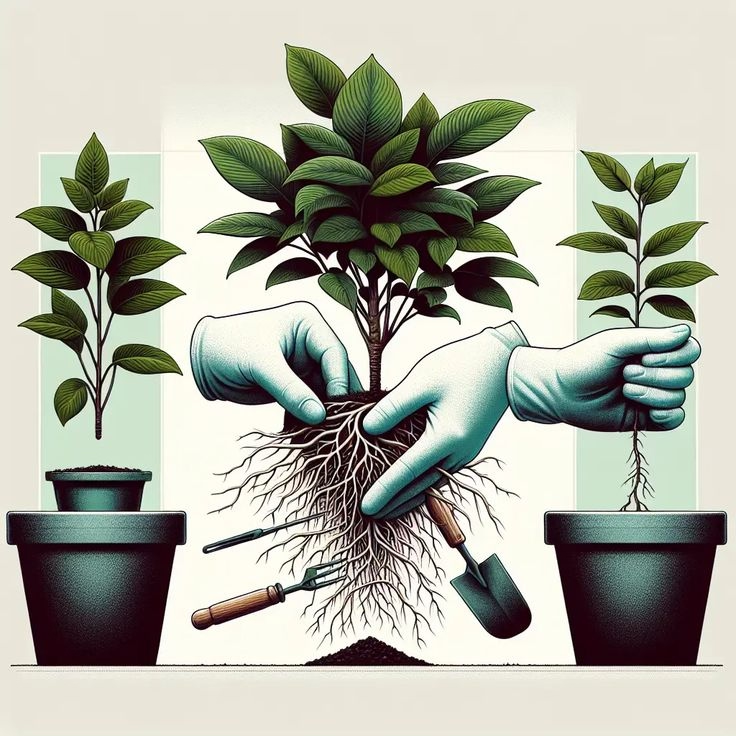
Teasing the Roots
What I’m going to do now is just start at the bottom and start teasing the roots away from this form that they have created within the pot. I’m just being pretty gentle, but firm enough. I want to stop it growing like a pot. I want them to think they’re back in the jungle. This step is essential for healthy root growth.
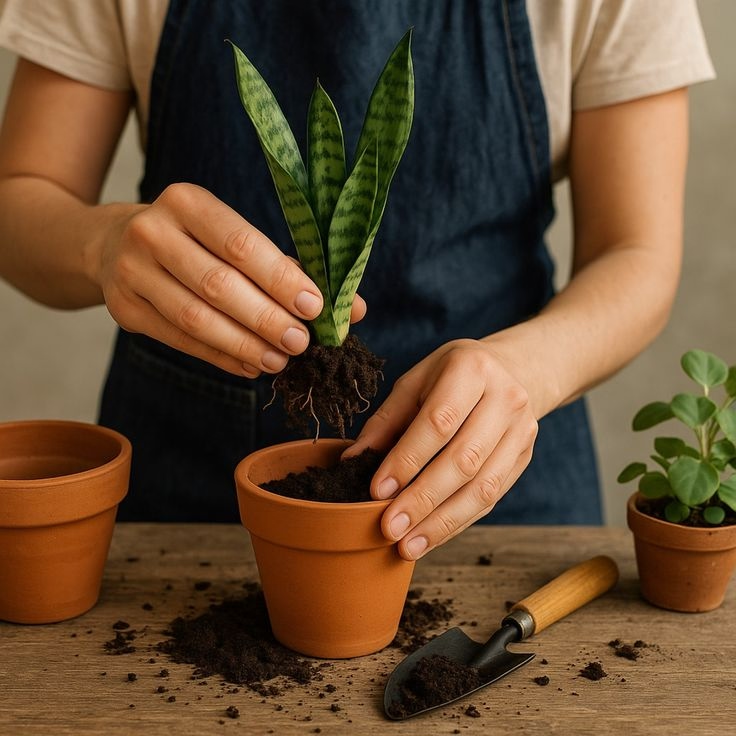
Preparing the New Pot
This is pretty much done now. You can remove up to a quarter of the roots. It will stress it, yes, but it’s not at the moment in spring where it’s ready to grow, and it will bounce back. Spring is ideal for repotting indoor plants because plants are primed for growth. The stress from root trimming is minimal during this season.
How to Add Fresh Soil
The first thing I want to do is put fresh potting mix in the bottom, for the roots to grow down into. How much you put in is a direct result of the finished height of the plant, which is very important. Ideally, you want it pretty much at the level it was at the old pot, but you want the crown to be maybe at the lip or just below the lip level of the new pot. Proper soil levels are crucial when you repot indoor plants.
Anchoring the Plant
Then, with my other hand, I’m just throwing in the fresh soil, which will anchor the plant at the height I want it. You do need to sort of pack it down, because you don’t want air pockets in the root system; that’s bad for it. Okay, that’s pretty much where I need it to be. Packing the soil ensures stability.
Final Touches for Repotting
What you should do now is sort of tap the pot a couple of times. That helps to set the soil. Tapping settles the soil naturally. Grooming the leaves is next. I like to groom the leaves, the top growth, so that it looks as good as it feels. I’ll take off any brown or yellowing leaves. Grooming enhances the plant’s appearance after you repot indoor plants.
What Makes Repotting Effective
A well-drained pot means that you can’t overwater it. Overwatering is a common mistake, but a good pot prevents this. The very worst thing you can do is kill it. I know that sounds glib. Get your hands mucky, go in, and do it. In time, your trepidation will evaporate, and your confidence will grow. Repotting indoor plants builds your skills and keeps plants thriving.
Confidence in Repotting
Repotting may seem daunting, but it’s simple with practice. Each time you repot indoor plants, you’ll feel more confident. The process promotes healthier, happier plants that mimic their natural jungle environment. Embrace the process, and your indoor garden will flourish.